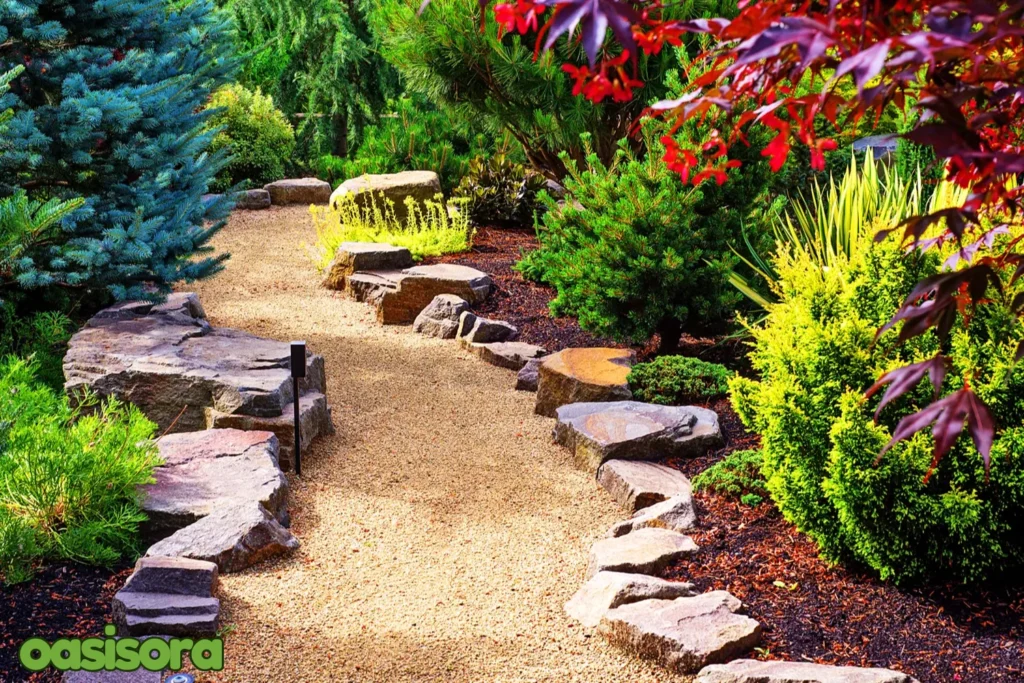
Decomposed granite (DG) gives you a durable and natural option for building a garden pathway, backyard track, or ornamental path. How to install a decomposed granite pathway provides a quick and affordable set of steps to improve your outside area.
The material is easy to work with, combines well with any landscape, and has fantastic drainage. In this blog, we can take you step-by-step through the procedure to ensure an effective and efficient approach.
You can find every necessary approach to properly finish this do-it-yourself job, from cleaning the space to settling the surface.
Why Choose Decomposed Granite for Your Pathway?
These granite pathways fit well with any environment promoting a natural and beautiful look of the space. Moreover, decomposed granite (DG) is a favorable choice for all types of outdoor spaces.
- Durability & Low Maintenance

Durable & Low Maintenance Decomposed Granite Design
DG is a robust material that holds its beauty throughout severe weather conditions. It requires little maintenance, as it prevents erosion and compaction, thus making it a great alternative for smooth pathways.
They require less frequent repairs or upgrading because of their naturally compacted layers. Also, the fine texture makes it simple to remove any unwanted greenery by restricting the growth of weeds.
- Aesthetic Appeal and Versatility
Aesthetic Appeal and Versatility of Decomposed Granite Pathway
It offers a natural beauty and charm to your landscape. Such walkways merge perfectly with patios, walks, and gardens due to their range of hues and textures. Due to its functionality and design, such a path is an excellent choice for imparting traditional charm to outdoor areas.
How to Install a Decomposed Granite Pathway guide helps you to easily install them at different places, such as parks, gardens, residential areas, and workplaces.
For more visual interest, layer DG with different substances like flagstone or step stones designed to fit bending walkways, creating flowing lines.
- Environmentally Friendly Option
Decomposed granite is a pure substance which involves not much attention, serving as an ecologically sound option for paths. With water permeability quality, such pathways reduce runoff and improve water recharging.
DG is not dependent on harsh chemicals for installation or preservation like asphalt or concrete do. Due to its strength and recyclability, it is a practical choice for environmentally responsible landscaping.

Enviromental Friendly DG Options for path
- Budget-Friendly Landscaping Solution
Decomposed granite is an ideal choice for landscapers that is on a tight budget, considering it is less costly than pavers or concrete. Since it requires less maintenance and fixes over time, the expense goes beyond the initial installation.
DG is affordable to install and can be replaced upon demand without paying huge expenses. It is an excellent option for designing lovely and useful outdoor spaces with its long lifespan and durability.
Tools and Materials You’ll Need for Installing a DG Pathway
If you want the smooth installation of a decomposed granite pathway, you have to get the necessary supplies and tools. Keeping everything ready, especially understanding of how to Install a Decomposed Granite Pathway steps, the essential stabilizers and simple hand tools, will simplify and speed up the installation.
Let’s see some important materials and tools essential for the process.
- Stabilized or Loose Decomposed Granite (DG)

Stabilized or Loose Decomposed Granite
Decomposed granite is available in two forms: loose and stabilized. Now the question is “What is Stabilized DG?” As stabilized DG comprises a binding agent like polymer or resin, it is stronger and erosion-resistant.
However, loose DG gives a more organic appearance, though it must be refilled sometimes. Pick the variety that most effectively fits the purpose and volume of traffic on your pathway.
- Gravel or Crushed Rock Base Material (Optional for Durability)

Gravel or Crushed Rock Base Material
Your DG route will be more stable and have better drainage with a gravel or crushed rock base, which improves stability and allows better drainage to the DG path, especially in areas that get a lot of traffic or rain.
This foundation layer increases the life of your road by minimizing transformation and lowering over time. It is highly suggested for a long lifespan.
- Edging Material (Steel, Plastic, or Wood)
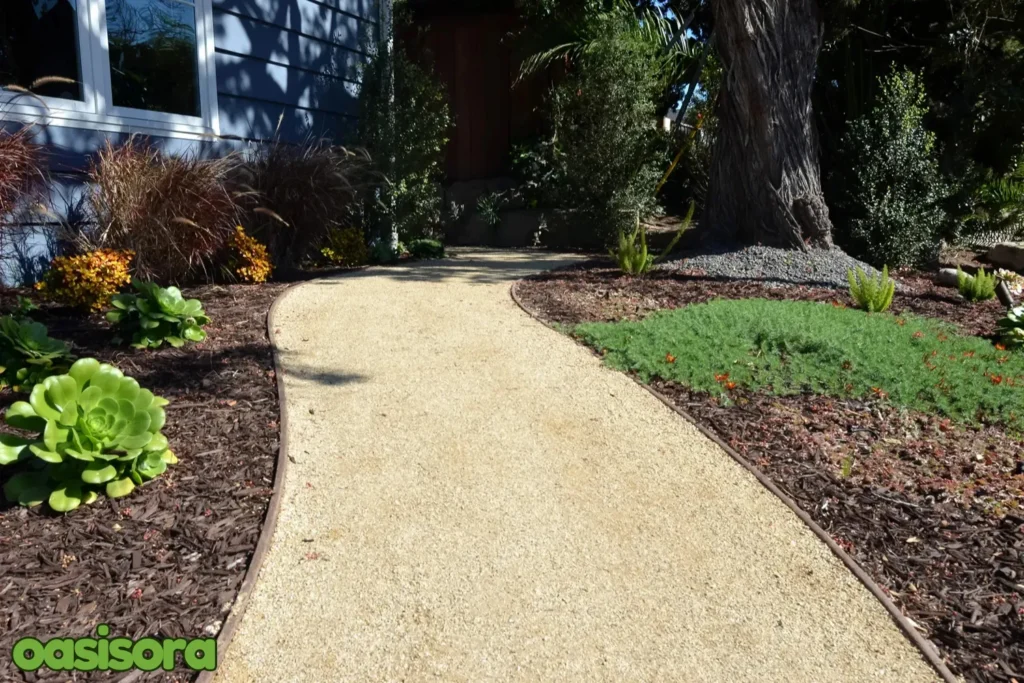
Edging Material for Pathways
Edging materials hold the DG securely in place and assist in specifying the borders of the sidewalk. Plastic edging is advanced, lighter and cheaper than steel edging, possessing a clean and modern appearance.
Wood edging is another amazing choice like treated timber, appropriate for a more genuine and rustic look. Using the appropriate edging increases appearance and functionality.
- Weed Barrier Fabric

Weed Barrier Fabric for pathways
Consistent maintenance tasks can be significantly lower by installing a weed barrier fabric beneath the DG that can stop weed development.
Also, this fabric facilitates drainage and keeps DG from merging with the soil underneath. Beyond awareness about how to install a Decomposed Granite Pathway, fine weed barrier ensures a well-maintained and organized look of your paths.
- Landscaping Tools (Shovels, Rakes, Wheelbarrow, Tampers)
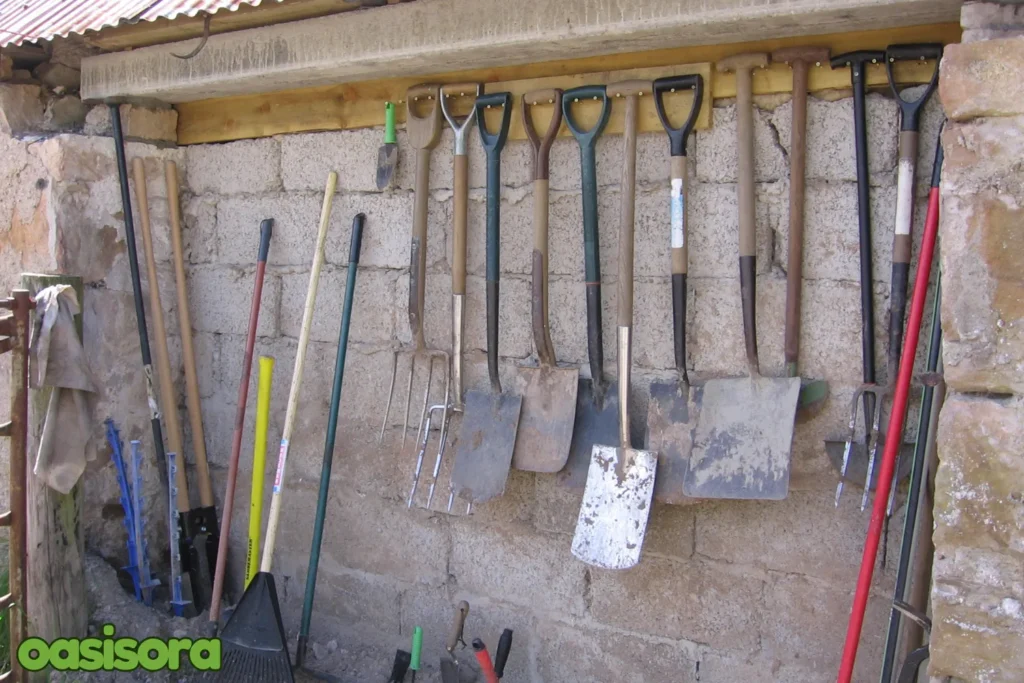
Landscaping Tools ((Shovels, Rakes, Wheelbarrow, Tampers)
You can easily spread, level, and compact the DG using normal landscaping equipment. While rakes enable a uniform distribution, shovels, and wheelbarrows help in the shifting of resources.
Tampers or plate compactors play a great role in creating a solid and stable surface and keeping loose particles in place.
- Water Source and Sprinkler System for Compacting
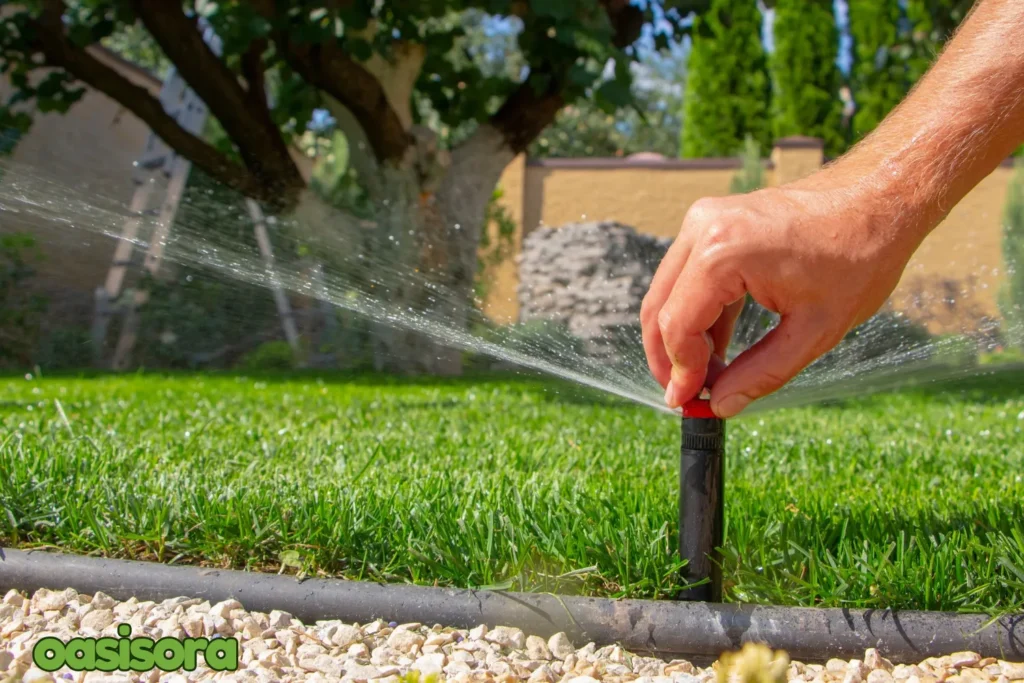
Sprinkler System
Water is a necessary component to produce a solid, persistent surface that successfully compresses the decomposed granite. Before settling, gently mist all layers to support particle binding.
Use an automated sprinkler system or pipe with a spray nozzle for appropriate water distribution despite oversaturating the material.
- Safety Gear (Gloves, Safety Glasses, Masks)
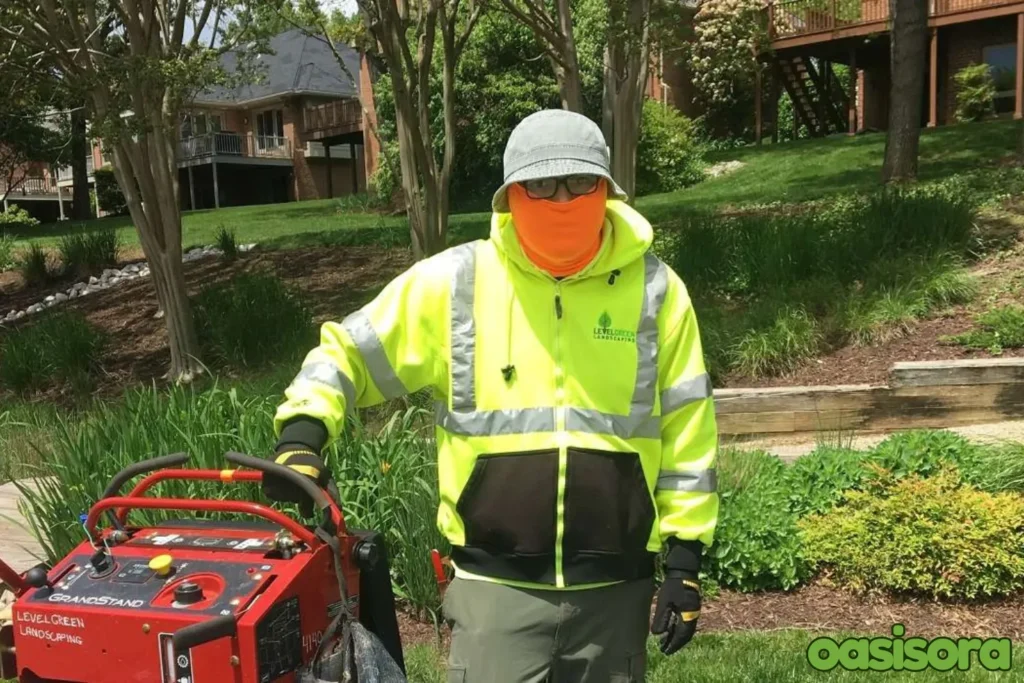
Safety Gear (Gloves, Safety Glasses, Masks)
Protective outfits during installation of DG paths can safeguard you from various harms. Usage of gloves safeguards your hands from cuts and wounds while safety glasses are necessary to save your eyes from dust and debris.
Whereas a mask helps you to stop inhaling harmful particles, specifically when dealing with dry DG. Providing safety as a top priority assures a simple and easy installation procedure.
Step-by-Step Process to Install Your Decomposed Granite Pathway
Decomposed granite is a versatile but simple-to-install material that is often used to build a strong walkway or a gorgeous garden path. We will explain to you precisely how to install a decomposed granite pathway from beginning to end in this detailed guide.
Step 1: Planning and Designing Your Pathway
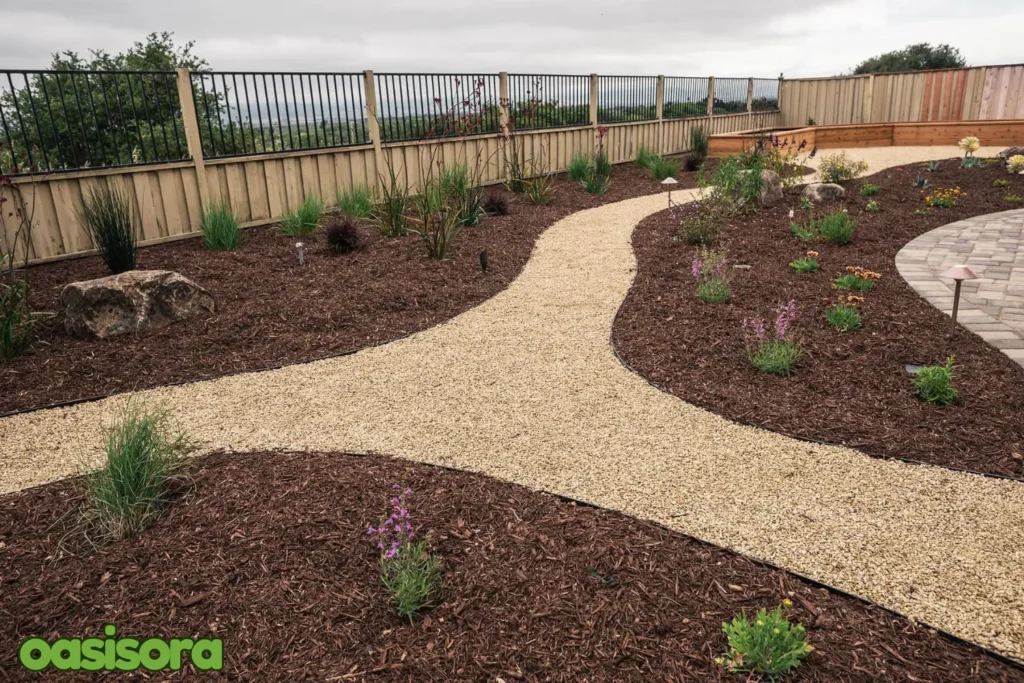
Decomposed Granite Pathway
Spend your time preparing and getting your decomposed granite pathway ready before you start creating. Look into your proper location, paths, square footage of your path, desired design, measurements, and functionality. Identify the outer edges of the pathway with paint or stakes and rope.
Makes use of soft curves rather than using straight lines, for a more organic appearance. Before marking, use an adjustable garden hose as a reference.
To prevent water accumulation, make sure your path slopes slightly farther from construction sites to ensure sufficient water drainage. Proper design will enable the setting up of a useful and visually attractive walkway.
Step 2: Ordering the Right Amount of DG and Materials
Use the convenient coverage calculator to find out the amount of required material. After you’ve estimated the project’s square footage. We propose that the crushed granite be at least 2″–3″ deep and that the foundation layer below it be at least 2″–3″.
To figure out the appropriate quantity, contact your supplier or use a digital material calculator. For absolute coverage and adequate settlement, buy a little bit extra than planned.
Step 3: Excavation and Site Preparation
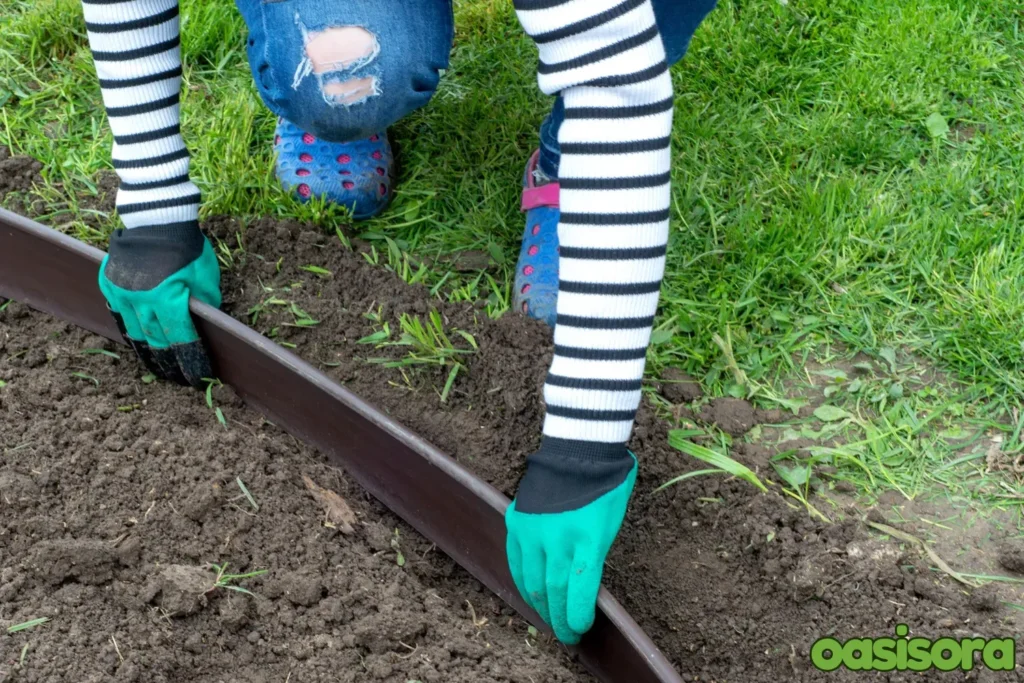
Excavation and Site Preparation for pathway
Depending on the structure of the layers you are going to add, proceed by digging the walkway area to an approximate depth of 5 to 7 inches. To construct a clean foundation, dispose of any grass, roots, or waste materials.
To clearly define the pathway’s range while maintaining the decomposed granite, apply edging material across its sides.
For this, steel or plastic garden edging is appropriate for the borderlines. Make sure every edge is level and perfectly straight by fixing it firmly into the ground to support proper drainage of water.
A gradual slope helps to minimize erosion and water collection. For an even basis, use a plate compactor or hand tamper to make a balanced surface level if necessary.
Step 4: Installing Edging for Your Pathway
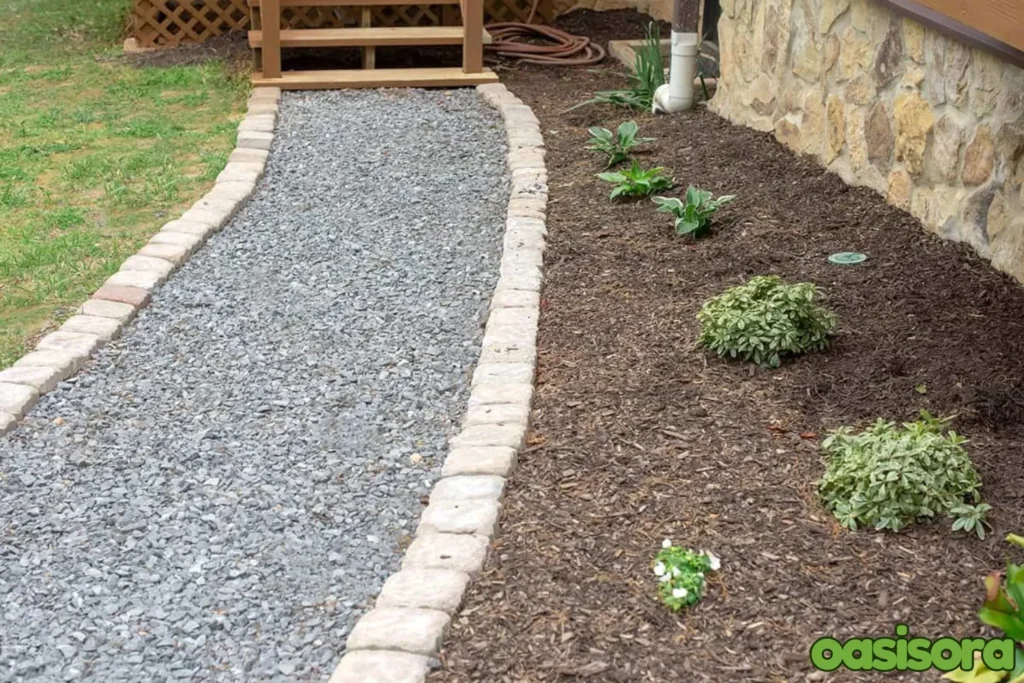
Install Edging for Pathway
Edging keeps the granite in its place and prevents it from spreading into nearby areas. It serves to make your walkway look neat and clear.
According to the overall layout of your landscape, you may decide between stone, steel landscape edging, plastic, or wood edging. With stakes or additional anchors, fix the edging along the designated path.
To retain a polished appearance, check that it is level and acquires the appropriate shape, whether it may be curved or straight.
Step 5: Laying a Weed Barrier Fabric
Gradually, a weed barrier fabric saves regular maintenance by limiting undesired plant growth. Cover the dug pathway section with landscaping fabric. For full coverage, cut the fabric to fit inside the edge. For completing any project conveniently, landscape fabric sizes of 3′ x 50′ and 6′ x 300′ are perfect.
To hold it in place, use landscape clips to fasten the edges. Overlapping parts by a few inches are ideal for sufficient covering. As a result, water can naturally drain through the DG, which contributes to increasing durability.
Step 6: Adding a Base Layer (Gravel or Crushed Rock)
Properly cover the path’s surface with a thin coating of crushed gravel or road base substance, around two to three inches (5-8 cm). Smooth the base layer utilizing a rake, then press it firmly with a tamper. A compacted foundation layer is necessary for stability and suitable drainage.
Step 7: Spreading the First Layer of Decomposed Granite
Over the compressed base, smoothly apply two to three inches (5-8 cm) of decomposed granite in layers. Laying thin layers of decomposed granite and then moistening and assembling each layer is crucial, specifically when using Stabilized DG.
Otherwise, your course is only flattened at the very top, and when its upper surface cracks, it will transform into a sandbox. To confirm a robust and lasting walkway, use a hand tamper or roller to flatten your DG in several passes.
Step 8: Compacting and Wetting the DG
Light water spray on the crushed granite improves the compaction process and assists in stabilizing the material. A large amount of precipitation may leave the DG muddy, so be cautious not to overwater.
Step 9: Adding the Final Layer of DG and Finishing Touches
According to the How to Install a Decomposed Granite Pathway manual, when the decomposed granite is completely dried and set, clean the path thoroughly to get rid of all the loose material.
If you want to keep the road’s supposed depth and aesthetic over time, you might need to add additional decomposed granite to the top. Frequent cleaning of the pathway can help keep it organized and restrict weeds from growing.
Pro Tips for a Durable and Long-Lasting DG Pathway
With significant care, decomposed granite walkways can stay attractive for many years. Follow this professional advice to extend its life expectancy, minimize frequent problems, and sustain its glossy appearance,
- Using Stabilized DG for Heavier Traffic Areas

Stabilized DG for Heavier Traffic Areas
Stabilized decomposed granite might represent an effective choice for walkways that receive a lot of foot traffic or heavy-weight activity, to deliver a more reliable surface.
Maintained DG contains a binding agent that serves to minimize shifting, erosion, and dust. It is especially beneficial for high-traffic routes, patios, and driveways.
- Maintaining Your DG Pathway Over Time
Your DG route remains in optimal shape with routine maintenance. Sweep the surface periodically so you can fill up any gaps and disperse the material.
Preserving its longevity and look involves putting on a new coat of DG in a few years. Reinstall a stabilizing agent if necessary to maintain its compactness while minimizing loose particles.
- Avoiding Common Mistakes During Installation
A persistent route may be ensured by avoiding frequent installation problems. Each layer must be tightly bound to protect it from shift and surface imperfections.
Avoid installing DG in locations near water pool regions since efficient drainage is essential. Also, apply exceptional edging to hold the material in place for the years.
Cost to Install a Decomposed Granite Pathway
Several factors affect the costs of constructing a granite footpath. You can effectively schedule your budget if you understand each of these cost components, besides how to install a Decomposed Granite Pathway, steps.
Factors That Influence the Cost (Size, Materials, Labor)
The walkway size, the particular type of DG utilized, along with your extra materials like boundaries or a base layer, all affect the total price. The value of labor may also differ depending on whether you prefer DIY projects or professional installation.
Budget-Friendly Alternatives to Stabilized DGS
Unlike stabilized DG, loose DG is less expensive and possesses an appearance that feels natural. Lowering total costs can also be achieved by opting for DIY installation and using reusable supplies for edges.
Creative Ideas to Enhance Your DG Pathway Design
Updating your decomposing granite route can transform your outdoor area into a more attractive, as well as practical spot. These creative concepts will assist in making your walkway look wonderful.
Adding Plants and Lighting
Decorating your path with flowers or plants that tolerate drought offers an organic and attractive touch to your space. At night, solar-powered lanterns or lights can raise visibility while establishing a cozy and comfortable environment.
Using Pavers or Stones to Accent the Pathway
Installing ornamental pebbles, unique flagstones, or patio stones to the DG route generates texture and contrast. They also have an interesting elegance that supports well-defined pedestrian lanes.
Integrating the Pathway with Other Garden Features
Interconnecting your DG walkway to patios, lounging spaces, or water elements may develop a coherent landscape structure. Placing stepping stones, seats, or shade structures like pergolas may boost the area’s practicality and charm.
Maintenance Tips for Your Decomposed Granite Pathway
Your DG route will appear fantastic and remain functional longer with regular upkeep. To safeguard its efficiency and look, stick to our fundamental criteria.
- How to Keep the Pathway Clean and Weed-Free
To keep the route clear of debris and avoid collapse, clean or rake it frequently. To retain a clean surface, use an organic weed killer or uproot weeds as soon as they grow.
- When to Replenish Decomposed Granite
Weather conditions and foot traffic can lead DG to slowly fade out. Maintaining the surface’s smoothness and uniformity demands using a new coating periodically.
- How to Fix Minor Erosion Issues
Just rearrange the DG and press down it once more if erosion or little dips occur by precipitation or overuse. Implementing appropriate drainage and occasional re-leveling saves your path from further degradation.
Conclusion
How to install a decomposed granite pathway provides an excellent approach that improves your outdoor area’s beauty and usability.
A desirable and durable surface for walking or light transport is possible by a decomposed granite method due to its natural beauty, accessibility, and low care needs.
If you follow the above-detailed guidance you’ll be comfortably on your way to designing a gorgeous route that improves the surrounding landscape for many years to come. Enjoy the process and the outcome of your perfectly built DG walkway!
FAQs
- Differentiate between stabilized and loose decomposed granite?
Stabilized DG consists of strong binding material to provide a tightly packed solid surface that is ideal for high-traffic areas. Whereas, loose decomposed granite is a natural, spongy material that gives an organic and beautiful appearance to your garden beds or pathways.
- Is the DG pathway set up by DIY or do I need a contractor?
If you enjoy DIY projects, then you can install DG pathway yourself. However, specifically for larger areas, professional contractors can finish installation more accurately and precisely.
- How do I prevent weeds from growing in my DG pathway?
Before putting the DG, lay down a weed barrier fabric below it to keep away unwanted plants. Pull out any weed that grows to maintain the look and cleanliness.
- How can I estimate the amount of DG required for my development project?
Measure the targeted area in the form of length, width, and desired depth. Then, multiply all of these numbers. Divide this amount by 27 to get it to cubic yards or cubic footage.
- Is DG beneficial for patios or driveways like landscaping projects?
It is practicable to use such walkways for patios, and other gardening elements. In certain situations, stabilized DG works particularly effectively to build strong, long-lasting surfaces.
